I AM A

We Make You Smile

diy

How to Make A Pimm's Cocktail

pencils, diy, stockistsI AM AComment
pimm's summer cup cocktail ingredients.jpg

The last few days we have been very lucky in London with the temperature soaring - it may seem that F-I-N-A-L-L-Y, we have the first signs of some warmer weather. After an April month of cold rain drizzles, think it's about time the sun makes an appearance: Hello Sunshine! πŸ‘‹β˜€οΈ

With the blazing heat, and temperatures up to 26 degrees (apparently today being the hottest day in the UK to date for the year) , apart from ice creams to cool us down, think it's also time for the great British Pimm's cocktail. A refreshing summer cocktail perfect for any parties. 

british pimm's cocktail recipe.jpg

Here's how to make a Pimm's cocktail. Our recipe is as follows:

Ingredients: (per single serving)

  • 1 Part Pimm's Summer Cup
  • Mint Leaves
  • Few slices of Peeled Cucumber
  • 3 Parts of Lemonade
  • Few segments Orange
  • Few slices of Strawberries

Method : 

  • Cut a cucumber in half. Using a peeler, peel the cucumber into long lengthy stripes. (Alternatively, you may slice the cucumber into little rounds, depending on how you would like to decorate your cocktail glasses).
  • Crush the mint in the cocktail glass.
  • Add some ice. 
  • Add 1 part of Pimm's.
  • Add the orange segments, strawberries and cucumber slices.
  • Top the drink with 3 parts of Lemonade, give it a good stir. Add a straw of your choice. We find the straws from Tiger , yup that stripey gold straw in the pictures is pretty cool. πŸ‘Œ

Cheers! Enjoy and Sip happily. 🍹 

british pimm's inspired non alcoholic iced tea recipe.jpg

Other Variations : 

  • For a non alcoholic cocktail, you may swap out the Pimm's with a cold brew iced tea.
  • For a lovely ice cold dessert, the above recipe can be turned into alcohol / non alcohol pops. Simply freezing the above in ice lollipop trays to make frozen ice lollies. Strain the fruit if you'd prefer a smooth ice lolly. πŸ˜‹

If like us, you are a fan of this British cocktail, we have created some pencils which we have foiled both sides; one side with the Pimm's cocktail ingredients, and the other side to make the cocktail. Recipe by your hand at all times. The pencils are available at Anthropologie or in our online store (by clicking the link below).

Last Minute Gift - Hand Tie Bouquet

diyI AM AComment

Uh oh! We are due to visit a friend and are stuck for ideas for gifts. Whoops. 😰 Left it a bit too late again.

As we are officially in spring, flowers come straight into mind. We love gifting handmade gifts - to us, it's the personal touch, there is just something magical and touching about it. Something unique, something you have created, your own mark.

Recently in our local supermarket, we have been spotting some really beautiful tulips, they have two color shades on them, a bit like oriental lilies but with a more rounded edge. So why not make a hand tie bouquet since tulips are in season? 🌷

To add a personal touch, we have used our wrapping paper, which is perfect for this occasion as it is perfectly trimmed for small bouquets e.g for half to a dozen of tulips, or roses. Thought about using mini roses too for this bouquet as there was a beautiful orange bunch, but the heart has been stolen by the beautiful dual tone on the tulips. 

This is how we made our bouquet:

1) Trimmed the leaves and ends of the stalks 

2) Blot dry any excess water. If you are traveling a long distance or have a good few hours to go before you pass on your gift. You may wrap a soaked cotton wool with water and bind it with cling film. Making sure the water doesn't seep through the cling film to dampen the paper but enough to keep the flowers moist. 

3) Tie the bouquet with a rubber band

4) Choose and tear a sheet of wrapping paper from the Gift Wrapping paper book 

5) Lay the wrapping paper in a landscape view. Lay the flowers on top about 45 degrees of the wrapping paper.

6) Roll wrapping paper to form a cone around the bouquet.

7) Secure with your choice of ribbon.  

Et voilΓ  ! A little quick and easy handmade gift, (That you made it yourself! High five! πŸ™Œ) - a perfect, small personalised present. πŸ’ 

hand tie tulip bouquet.jpg

Valentine's Galentine's Stay In Date DIY (Part 1)

diyI AM AComment

Whether it is Valentine's or a Galentine's that you are celebrating this weekend, if your plan is to stay at home, have some fun and snuggle in for some tv and movies we have the perfect stay in food and soda pop DIY project for it. Yay! Eyes see love, so let's celebrate L-O-V-E πŸ’˜πŸ˜

Valentine's Day.jpg

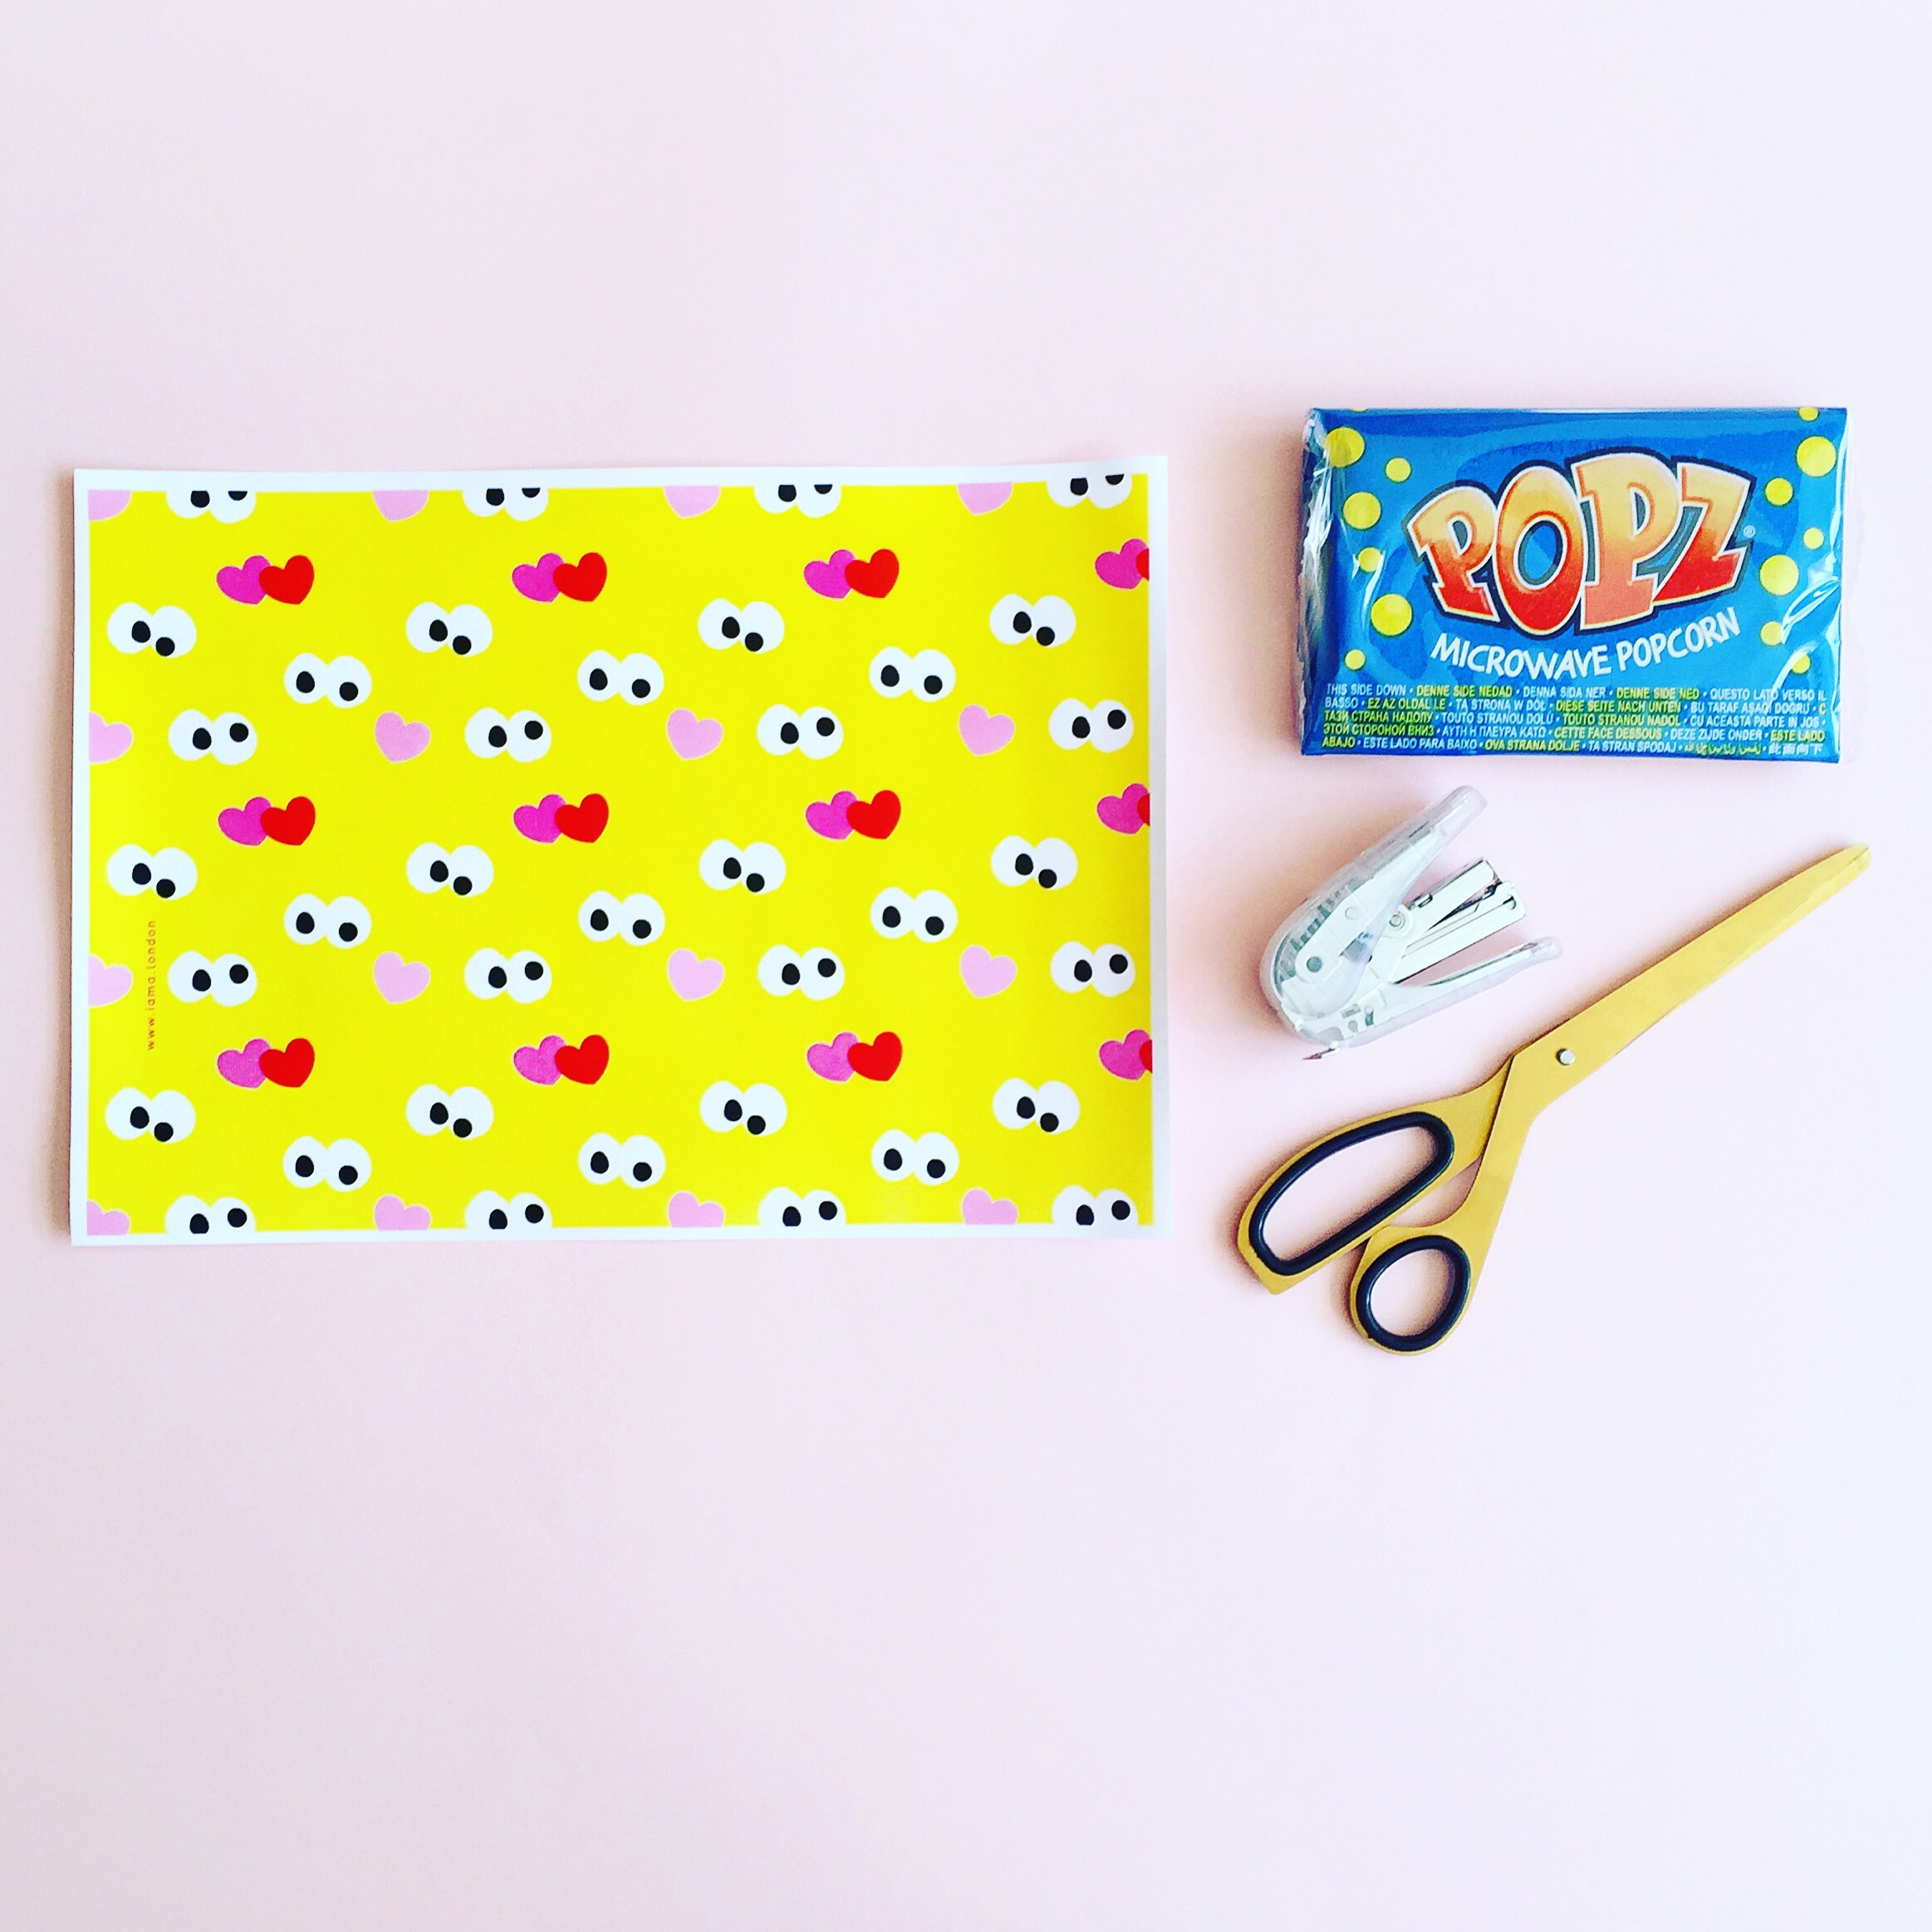
This DIY post will be a 2 part blog post. Part 1 we will run through how to make our "Eyes See Love, Snacks Cones". Yes! We are in love with eye patterns - we have illustrated some googly eyes and hearts πŸ‘€β€οΈ for this paper cone pattern - C-U-T-E-ness. Part 2 of the tutorial, we will be making some matching "SODArling , SODAteable SODA pop" DIY fizzy drinks labels. So, love, here we go!

1. Tools and Ingredients

  • Scissors
  • Prepared snacks such as microwave pop corn ( we chose pop corn, other alternative snacks such as fries, nuts, crisps, fish fingers, chicken nuggets are all good alternatives too - #nom 🍿🍟πŸͺπŸ«πŸ˜‹ )
  • Stapler
  • A4 paper to print "Eyes See Love Snack Cones" sheet which can be downloaded via this link 
DIY Free Printables Snack Cones.jpg

2. Print "Eyes See Love Snack Cones" sheet from the downloaded file. Each sheet yields 2 cones. However, if you decide to "supersize me" it, it's also possible to upsize and use one sheet per cone. 

3. Trim away the white boarders, and fold the sheet in half.  

DIY Fun Paper Project.jpg

4. Using the scissors, cut the sheets to 2 equal halves.

Eyes Pattern.jpg

​5. Roll sheet up to form a paper cone. 

DIY Paper Snack Cones.jpg

​6. Staple to close the edge of the folds to form a cone.

Heart Paper Snack Cones.jpg

​7. Repeat step 5-6 to make more paper cones.

8. ​Fill the paper cones with your prepared snacks.

Galentine's Day.jpg

9. Tickety boo! Food done βœ”οΈ. The snack cones are now ready to roll with the stay-in date.

As it is a stay in date, ( we love stay in dates especially during the cold winters ) so that we can be in our pjs and completely be in the most chilled out state.  We definitely love to have a movie on πŸ€“πŸŽ¬ here's our top picks for this Valentine's / Galentine's :

  • Leap Year  ( this year is a leap year so may be an apt film to watch )
  • The Artist
  • While You Were Sleeping
  • P.S. I love you
  • Zoolander
  • I Give it A Year
Valentine's Galentine's Day Food DIY.jpg

Ta-ra for now. More tomorrow , on Part 2 of this blog post for the soda pop for this weekend's Valentine's / Galentine's stay in date. πŸ˜ŠπŸ’•πŸŽ‰

How to Make A Match Box Advent Calendar

diyI AM AComment

1st Decemeber! That's one of our favorite dates in the year. Why? It's 24 days to Christmas - and every morning, we can pop open the windows of our advent calendar, which only happens in the month of December. Every day, we eagerly look forward, to unveiling a little surprise - and of course, every day just gets that little bit closer to Christmas. Yay!!!

If like us, you like making something, and like gifting sweet little gifts, this tutorial on making your own advent calendar may be just up your alley.

customised match boxes.jpg

Tools, Materials and Ingredients

  • 24 match boxes ( recycling old match boxes will be the best )
  • scissors
  • double sided tape or glue ( our preference is to use a sticky tape roller such as the "Bostik Sticki Tape Roller" available from Ryman, as it keeps all sticking job dry and neat)
  • 24 little gifts to fill the match boxes
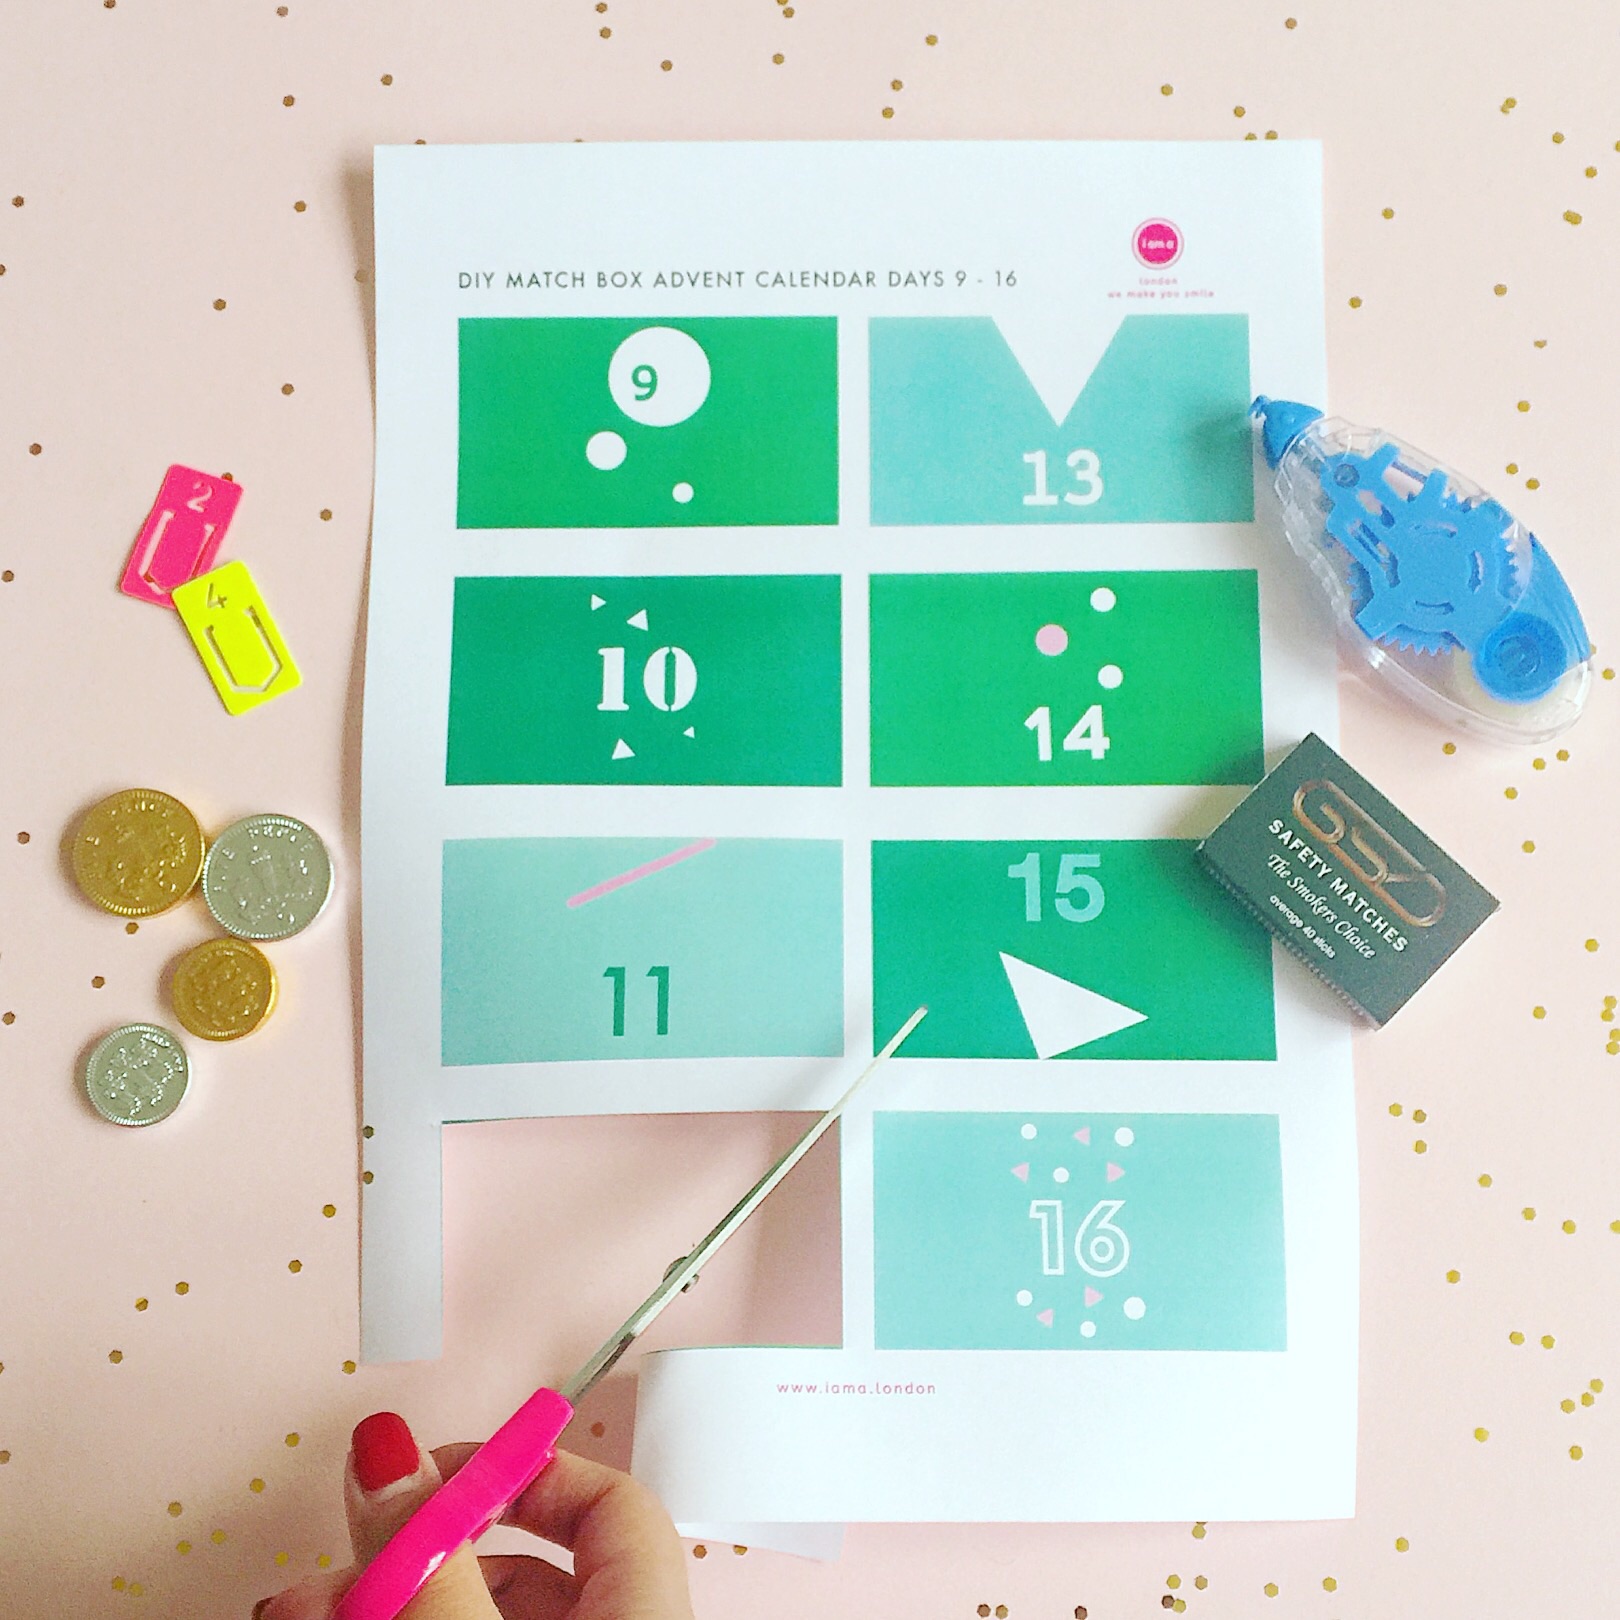
  • 3 pieces of A4 paper to print the numbered Match box wrappers that can be downloaded here
DIY Advent Calendar.jpg

Cut each individual dates out and use either double sided tape or glue to attach the designs to the boxes. The designs will work for small rectangular boxes too. The idea is to make sure the designs cover the top of the box, or wrap around the box in the case of a match box. 

DIY Fun Christmas Number Match Box Advent Calednar.jpg

After the boxes are numbered with the individual days, fill them with little gifts. Our favorites have included: 

  • tictacs 
  • gold / silver chocolate coins available from Waitrose
  • finger tattoos available from Paperchase
  • hair bobbles
  • key rings
  • glitter paper clips
  • stickers  
  • hand written messages  
  • vouchers
  • pin badges
  • lottery ticket  
  • nail clipper
  • cute buttons
  • matches (why not?) 
Match Box DIY Christmas Advent Calendar.jpg

After the boxes are filled. Mix them around to mix around the dates.

To display the match boxes, you can affix these boxes on to the wall with tape that does not strip off the paint from the wall e.g. 3M Command Poster Mounting Adhesive Strips, or simply line them up on a mantelpiece.

Have fun and happy counting down to Christmas!

Number Match Boxes Typography Advent Calendar.jpg

How to Make Frankenstein Frank Halloween Treat Bags

diyI AM AComment

Two days to Halloween! We've got the pumpkins ready what about T-R-E-A-T-S? Yay! Treats!

To hold the treats we have created some Frankenstein paper bag toppers to decorate paper bags with , apt for Halloween parties to fill with sweeties and treats. Something fun for your neighbours, family and friends for the festivities. Trick or treat? Definitely it's a treat from us.  

1. Tools and Ingredients

  • scissors - from Tiger
  • stapler - from Muji 
  • sweets and treats  - we have chosen pretty foiled assorted toffees from Waitrose and our own metallic badges featuring Wallace the Worm , Bart the Bat and Zac the Zombie
  • silver party paper bags - any colour will do, we have done it on brown paper bags, stripey bags, they work a treat too! 
  • A4 paper to print Frankenstein Frank. Frank can be downloaded here
frankenstein paper bags tutorial.jpg

2. Print out Frank the Frankenstein. You will need one Frank per paper bag.

3. Unleash Frank by cutting him out.

DIY Halloween Paper Craft.jpg

4. Fill a paper bag with sweets and treats. Add a few plastic creepy crawlies like plastic spiders, plastic bats, or eyeball chocolates, sugar mice, denture gummy sweets etc ... if you have them.  

silver paper bag.jpg

5. Fold Frank in half. Fold down top of paper bag, the height should be around the same as Frank. Matchy - matchy !

Frankenstein Paper Bag DIY Crafting.jpg

6. Place folded Frank over the top of the the paper bag. Staple around Frank's nose to secure the bags. ( Frank already has a few scars, he is just missing a nose piercing. 😊)

halloween trick or treat.jpg

7. Repeat steps for more Franks. Et voila! Here are your very own Frank the Frankenstein topped candy bags. Perfect for Halloween treats.  

Happy crafting and Happy Halloween! πŸ‘»πŸŽƒπŸ«πŸ­πŸ¬πŸ•Έ

P.S. We would love for you to show us if you have done this tutorial by hash tagging your posts with #FrankensteinFrank . Can't wait to see them !